Chro_M@tic R@cing: printing art and posting to Twitter - automagically
One of the main goals we had in mind when designing Chro_M@tic R@cing was to involve the player in the creation of art. By enabling the visitors to virtually take possession of the exhibited sidecars, they become part of the creation process and can actively contribute to the generation of funny little pieces, which are then printed and posted to Twitter. This process took quite a bit of effort, and I am going to try to explain it here (sorry, it’s going to be technical again😅).
As you may have read in the previous blog post, we had the chance to create a game to be displayed for the next 4 years at the Espace Jean Tinguely - Niki de Saint Phalle in Fribourg. The game was meant to nicely go with the main art pieces: two sidecars painted by Jean Tinguely for his friend René Progin. In our game design process we immediately decided that we wanted to give the player the possibility to engage in the creation of a piece of art while playing the game. Given the painted sidecars, our choice naturally went towards using paint as one of the game’s mechanics: during the play, the player throws paint, makes paint tracks and bumps into various objects which all leave paint marks on the sidecars, racers, but most importantly, on the ground itself.

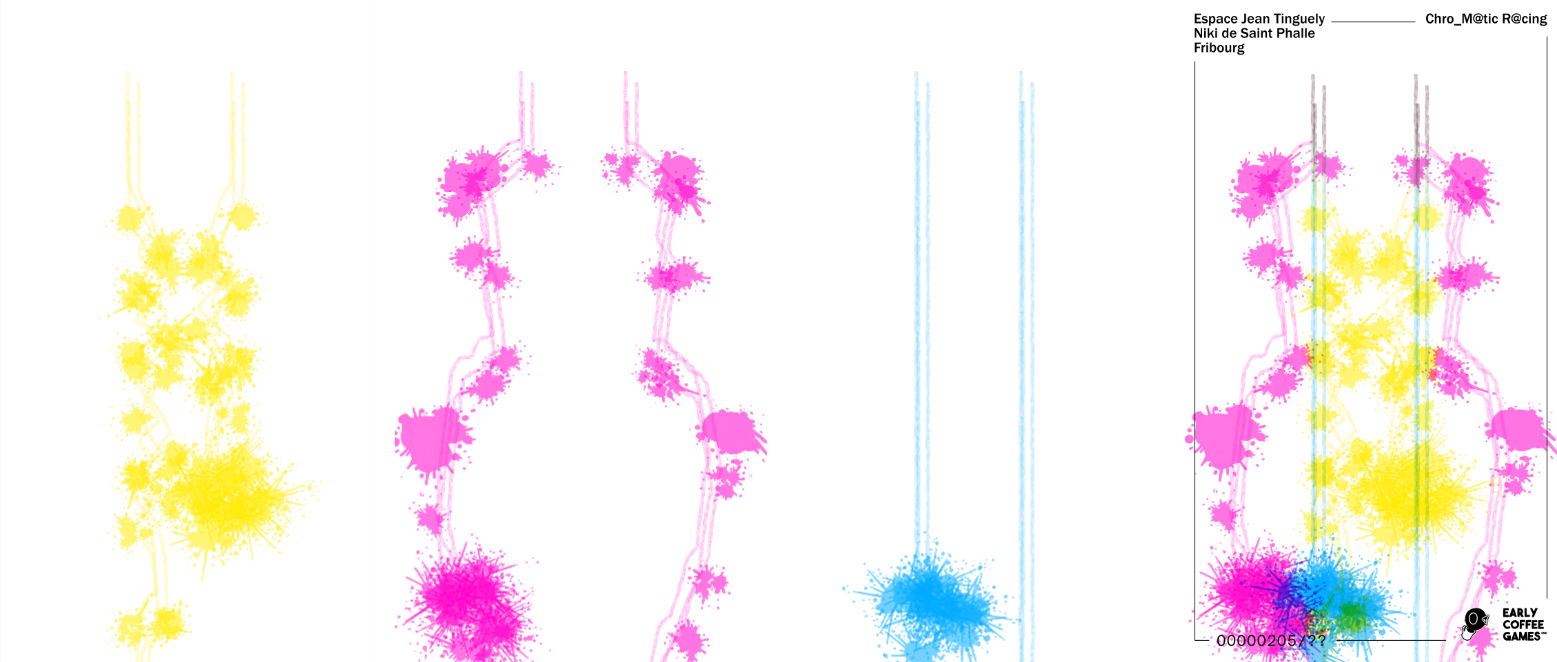
Once the environment vanishes, the player is left with three beautiful paintings on white canvases (one for each primary color: yellow, magenta and cyan), which, once merged, creates unique art pieces. The visitor then gets the possibility to print the piece, and the result is automagically posted to Twitter.
The process thus involved three parts:
Let me show you how it’s done😊.
Taking a screenshot
I’ve addressed this in a previous blog post about designing a bug reporting tool, but the process here is slightly different.
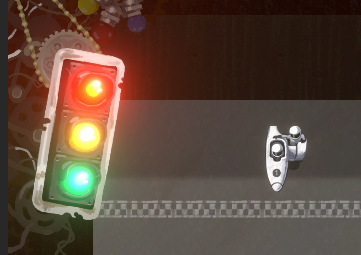
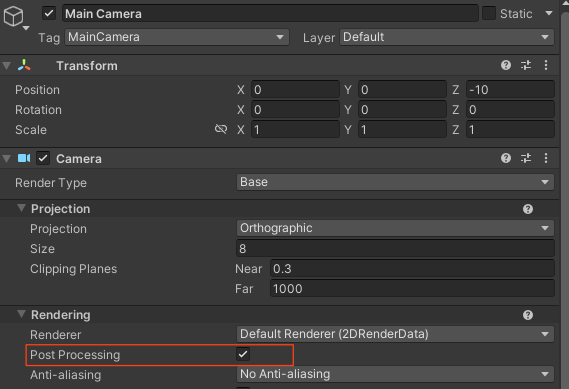
First off, as of version 2021.2, Unity does not handle taking screenshots with post-processing enabled (which handles e.g. the glowing thing around the lamps - side note: let me know if you want to know how to do this).
To disable it, the easiest way to go is to untoggle the setting in the main camera:
Obviously we want this to be done in code:
Camera.main
    .GetUniversalAdditionalCameraData()
    .renderPostProcessing = false;
Taking a screenshot is then relatively easy. Launch a coroutine and wait for the end of frame, then capture the screen in a texture.
IEnumerator ExecuteShot(){
    yield return new WaitForEndOfFrame();

    Texture2D texture = ScreenCapture
        .CaptureScreenshotAsTexture();
    Rect rect = new Rect(0, 0, texture.width, texture.height);
    texture.ReadPixels(rect,0,0);
}
We now have a texture containing the screen. For the purpose of the game, I needed to combine the different screenshots with “multiply” as blend mode. The easiest way to achieve this I have found is just to compute the value for each pixel, which is the multiplication of each pixel value. This is slightly slow, but if done at the right time (for instance when the result of the race splash is shown, during the scene transition), this is not an issue (also this can’t be done async, textures writing with async is not possible):
var productPixles = product.GetPixels();
var pixels = texture.GetPixels();

for (int i = 0; i < pixels.Length; i++)
{
    productPixles[i] = (productPixles[i] * pixels[i]);
}
product.SetPixels(productPixles);
product.Apply();
Easy enough. We now have a texture called product (kept in memory) which we can use to print and post to Twitter.
Finally, both the printing and posting process require the data to be an array of bytes, which we can easily extract from the texture:
byte[] bytearray = product.EncodeToPNG();
Posting the result to Twitter
First off, you need to create a Twitter developer profile. Head over to developer.twitter.com, register and then create a new project with “Read and Write” permissions enabled. You can then retrieve the API Key and Secret as well as the Authentication Tokens (Access Token and Secret).
Posting the result to Twitter has been made fairly easy thanks to the really cool library TweetSharp.
Side Note (reminder): to use a NuGet package in Unity, download the package, change the extension to .zip and add the .dll to your project.
In the code, first authenticate:
string key = AccessToken.KEY;
string secret = AccessToken.SECRET;
string token = AccessToken.TOKEN;
string tokenSecret = AccessToken.TOKEN_SECRET;

var service = new TweetSharp.TwitterService(key, secret);
service.AuthenticateWith(token, tokenSecret);
where key, secret, token and tokenSecret are the once you got from the Twitter developer portal.
Tweeting the image is then really easy thanks to TweetSharp.
First convert the byte array to a stream:
MemoryStream fileStream = new MemoryStream(bytearray);
Then send the image with your custom message:
var result = service.SendTweetWithMedia(
    new SendTweetWithMediaOptions
        {
            Status = "my custom message",
            Images = new Dictionary<string, Stream> {
                { "data", stream }
            }
        });
If everything went well, you can retrieve the tweet number:
if (result != null)
{
    var tweetNumber = result.Id;
}
The tweet is then available at https://twitter.com/[yourUsername]/status/[tweetNumber].
If result is null, it means something went wrong. You can add some error handling by checking the status code (service.Response.StatusCode).
Bonus: generating a QR code for the tweet
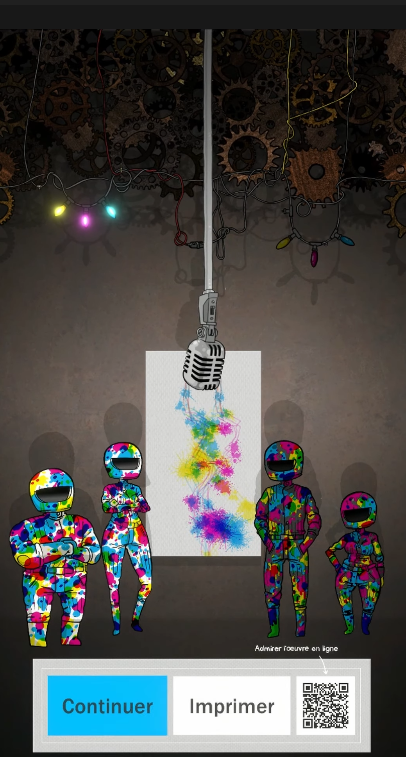
Since we retrieve the tweet’s url, we can generate a QR code to be displayed in game such that the visitors can scan it and see their piece online.
I found this nice piece on medium which goes over really well how to generate the QR code.
Basically, a unity ported ZXing library is needed, and the rest is very easy.
We want to display the generated QR-code in a texture inside of Unity, so we just need to populate the texture:
using ZXing;
using ZXing.QrCode;

public Texture2D generateQR(string text) {
    var encoded = new Texture2D (256, 256);
    var color32 = Encode(text, encoded.width, encoded.height);
    encoded.SetPixels32(color32);
    encoded.Apply();
    return encoded;
}

private static Color32[] Encode(string textForEncoding,
    int width, int height) {
    var writer = new BarcodeWriter {
        Format = BarcodeFormat.QR_CODE,
        Options = new QrCodeEncodingOptions {
            Height = height,
            Width = width
        }
    };
    return writer.Write(textForEncoding);
}
where text is the tweet’s url. This returns a texture which we can use in our canvas image.
Printing the image
Printing was the hardest part because… printers.
To print, we need to use a Process, which is part of the System.Diagnostics library. This process basically allows us call and execute an external program with arguments.
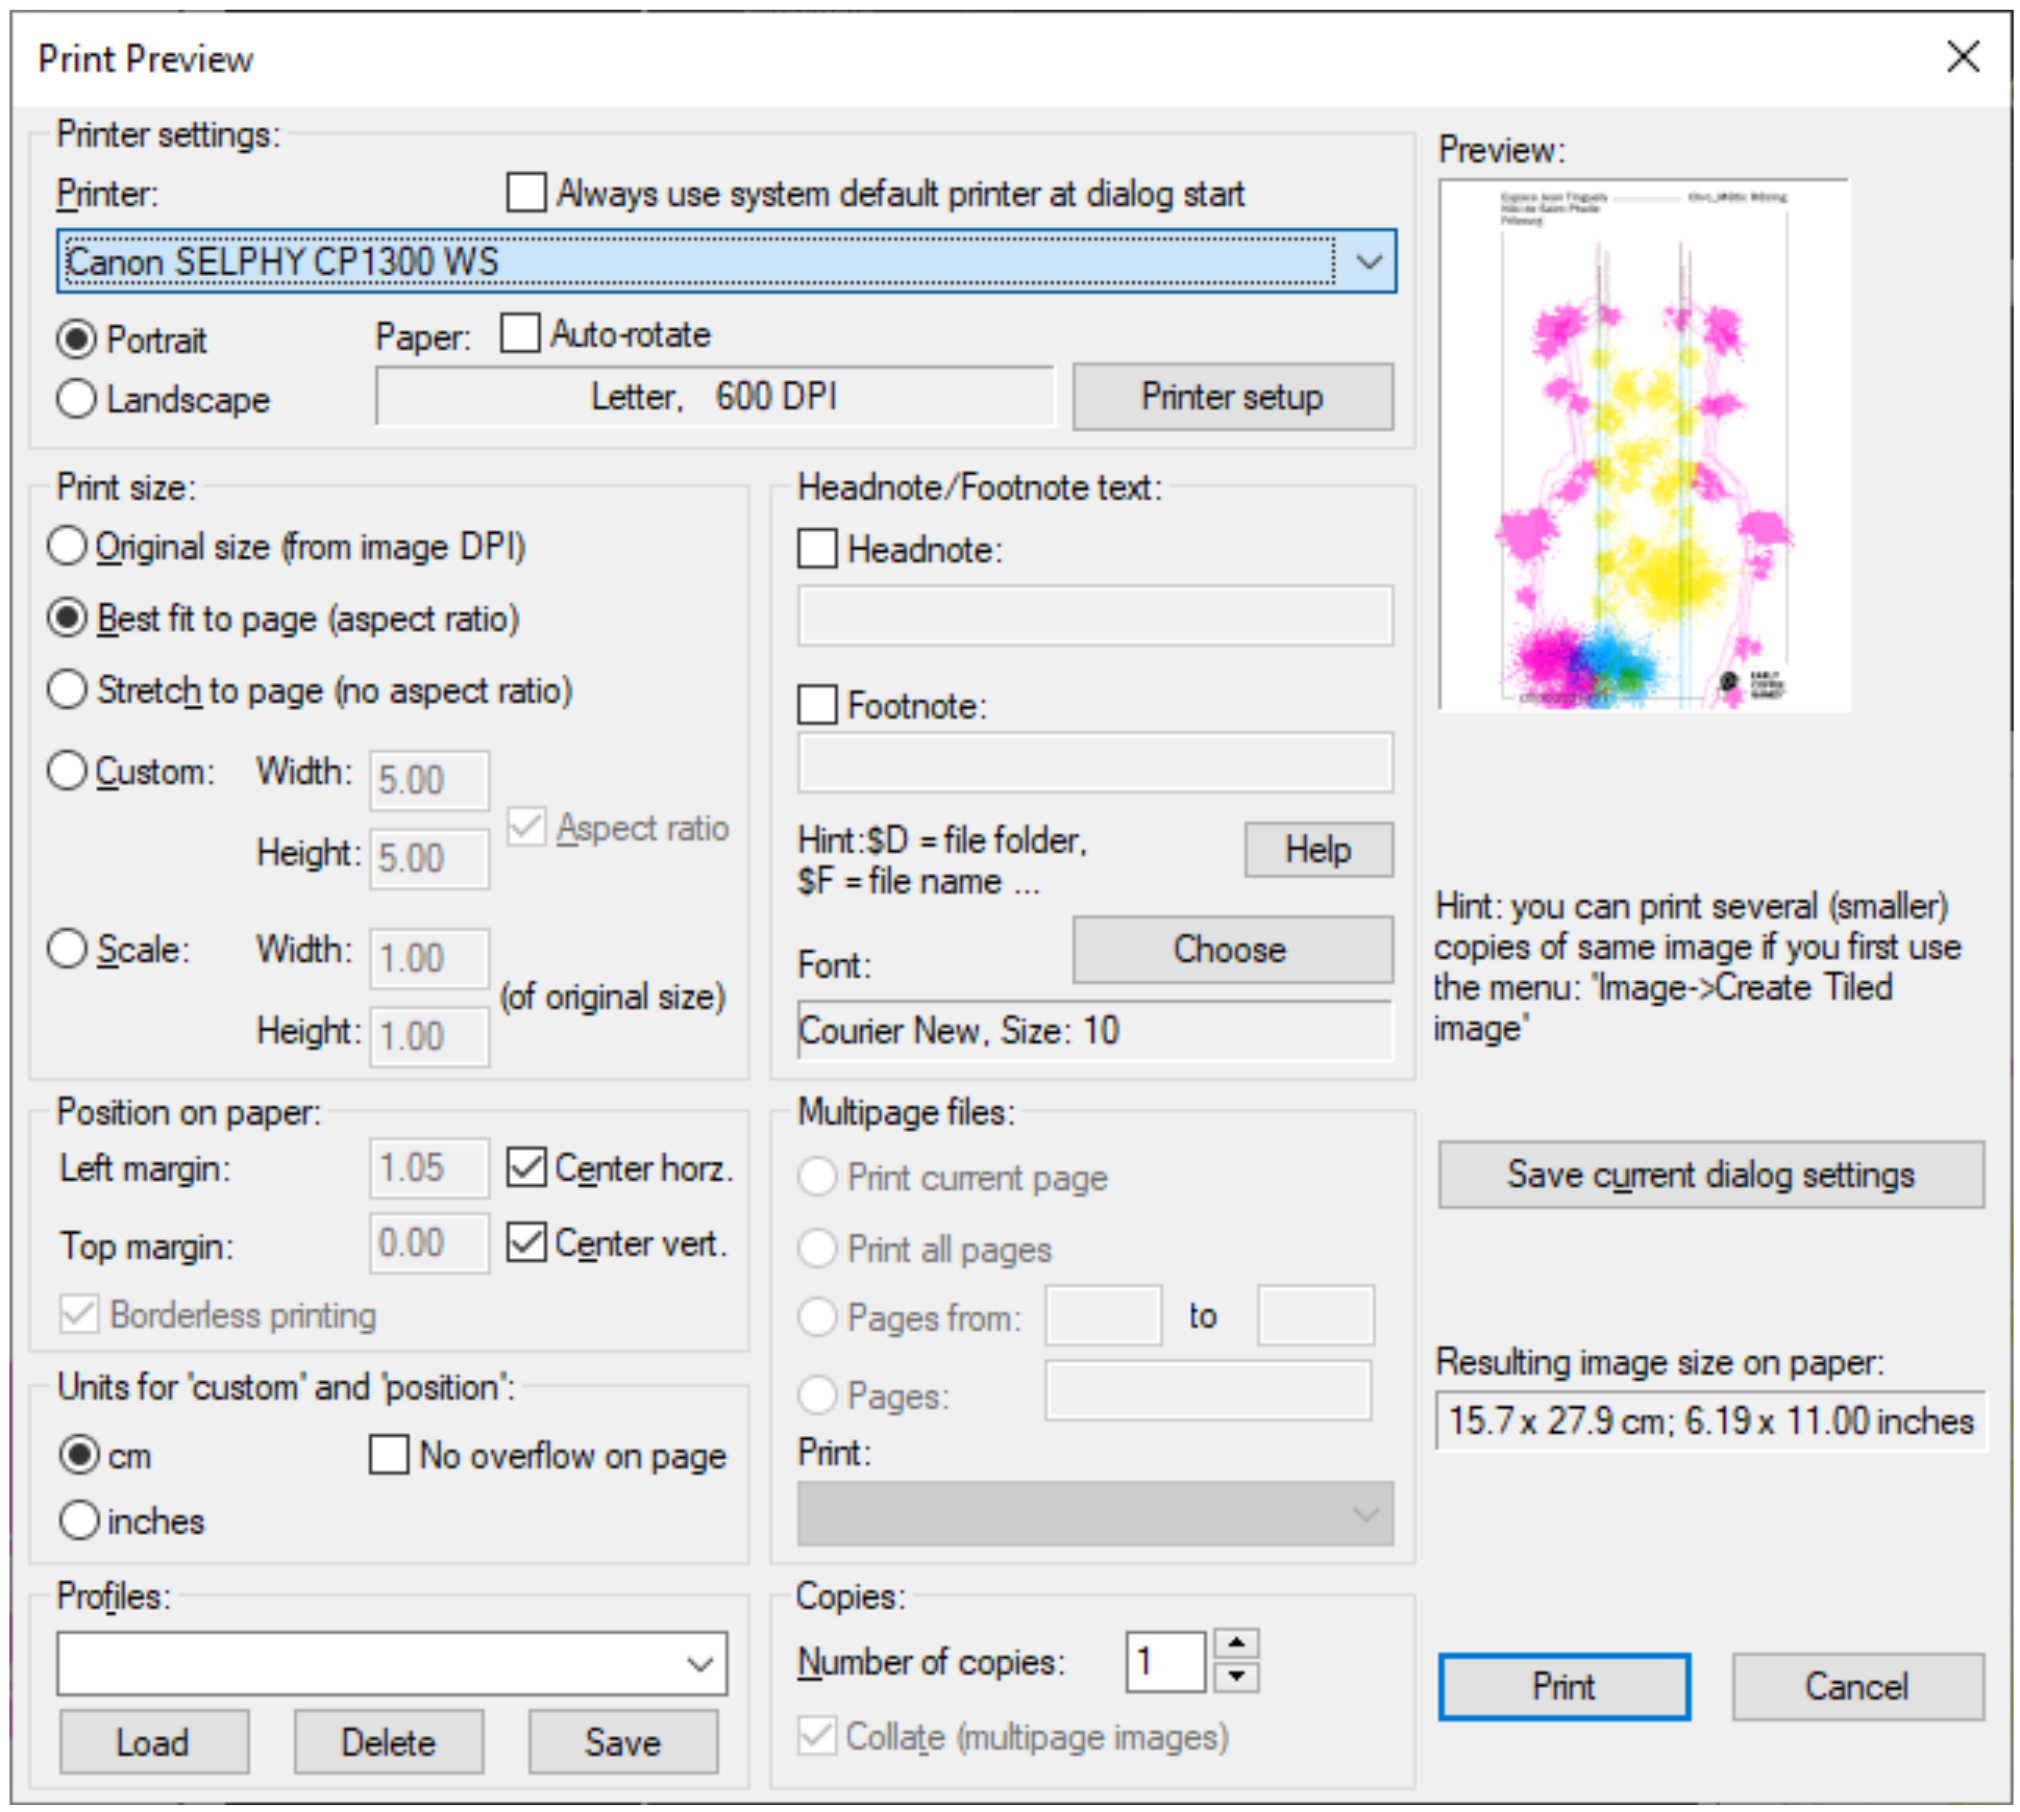
The main problem I was facing, was scaling and fitting the image in the page correctly. After some digging, irfanview appeared to be a really powerful program, which can be called from command line and which print settings could be configured beforehand in a nice user interface (which is not the case for the default windows print prompt).
To print the image from command line, this appeared to be enough:
"C:\\Program Files\\IrfanView\\i_view64.exe" "tmpOutput.png" /print
As you can see, the program requires the image to be saved to the disk, it can’t handle a stream. This is easily done:
System.IO.File.WriteAllBytes(
    Path.Combine(
        Application.persistentDataPath,
        "tmpOutput.png"),
    bytearray
    );
The image is written to a temporary location which the printer can read.
One thing I struggeled with, is that for some reason sometimes my command string would not be read correctly. I managed to overcome this by generating a .bat file and call this file instead (open to suggestions as to why this doesn’t work without the .bat):
string batchCommand = $"\"C:\\Program Files\\IrfanView\\i_view64.exe\" \"{dataPath}\" /print";
string batchPath = Path.Combine(Application.persistentDataPath, "runProcess.bat");
The process itself is then called like this:
string _cmd = $"\"{batchPath}\"";
try
{
    Process myProcess = new Process();
    myProcess.StartInfo.WindowStyle = ProcessWindowStyle.Hidden;
    myProcess.StartInfo.CreateNoWindow = true;
    myProcess.StartInfo.UseShellExecute = true;
    myProcess.StartInfo.FileName = "cmd.exe";
    myProcess.StartInfo.Arguments = "/c " + _cmd;
    myProcess.EnableRaisingEvents = true;
    myProcess.Start();
}
catch (Exception e)
{
    UnityEngine.Debug.Log(e);
}
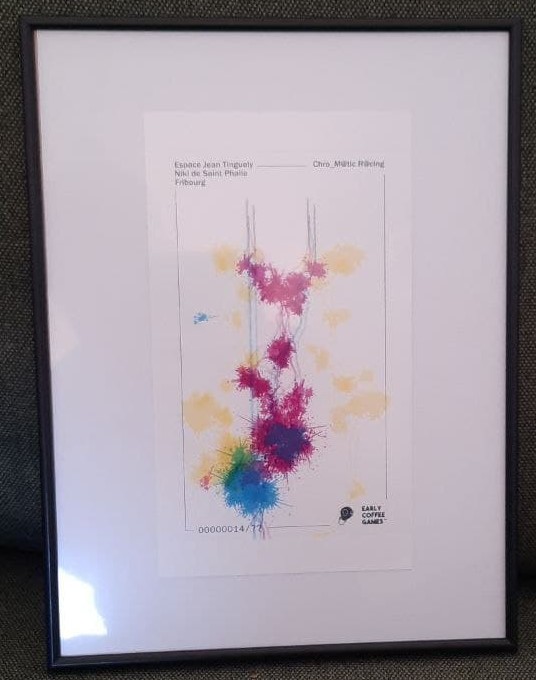
The result is pretty nice:
Conclusion
Well that’s about it for the printing and posting. Learned quite a lot in the process, hope some of it can be useful for you guys!
Thanks a lot for reading!
Read the latest articles:
Updating the bug reporting tool
Early Coffee Games at GDC 2022 in San Francisco!
Scroll Rect - automatic scroll with elements navigation
